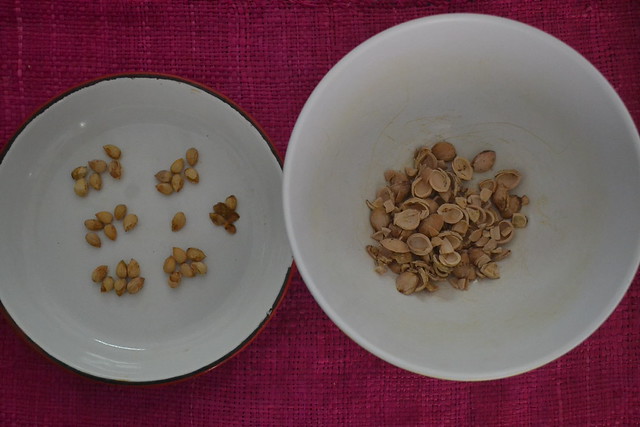
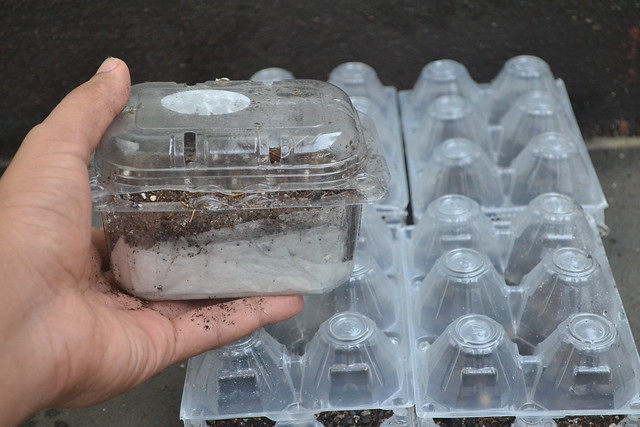
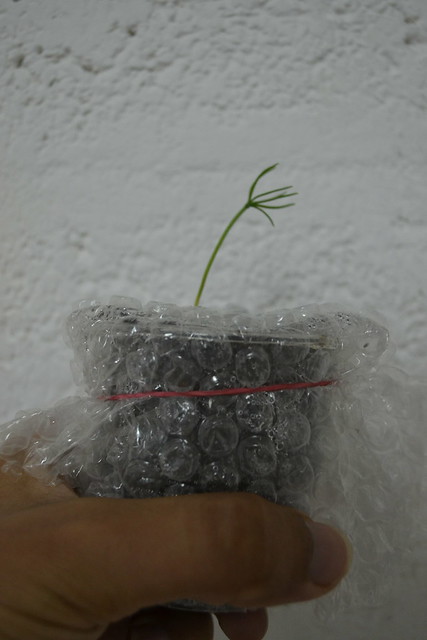
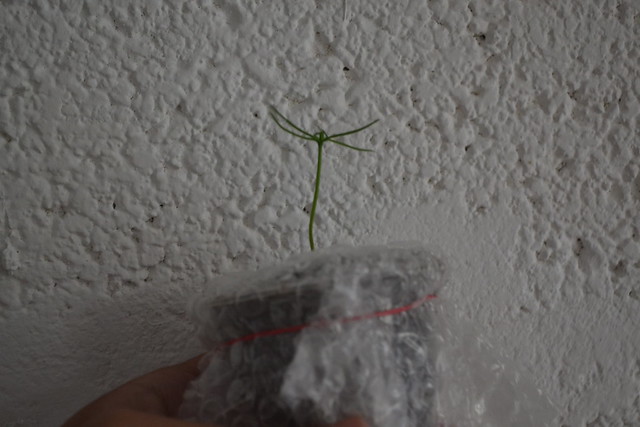
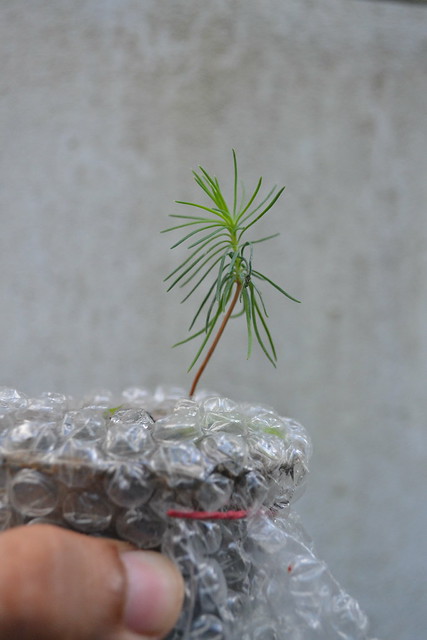
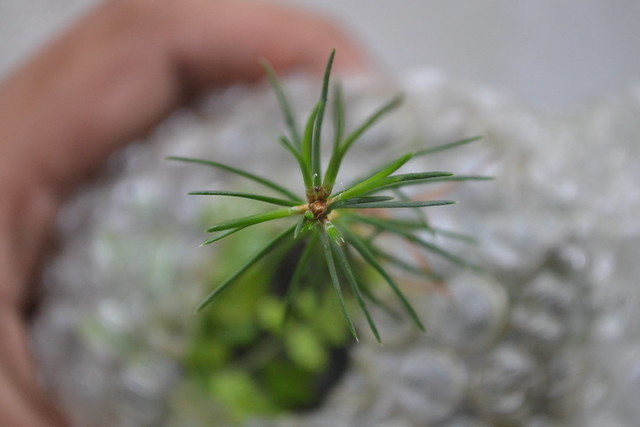
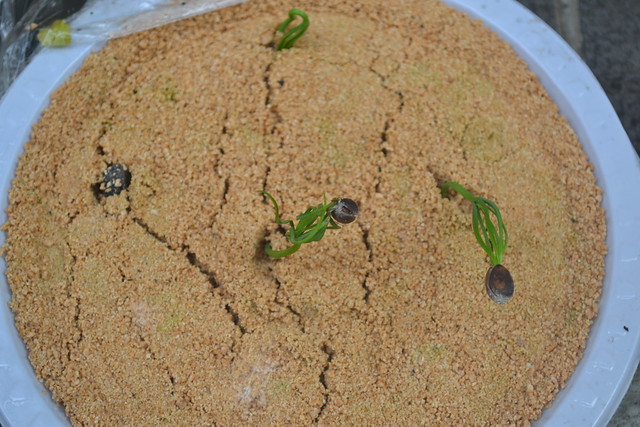
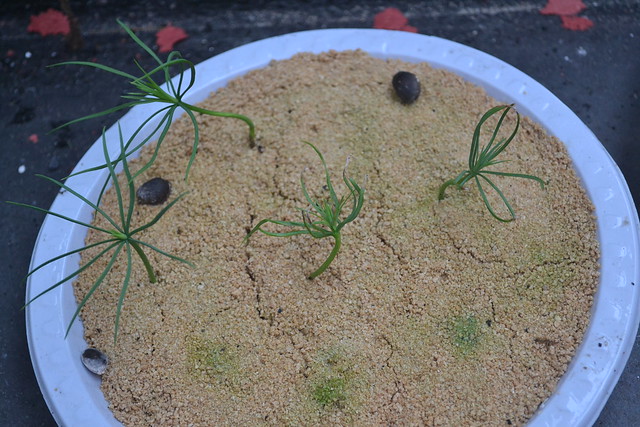
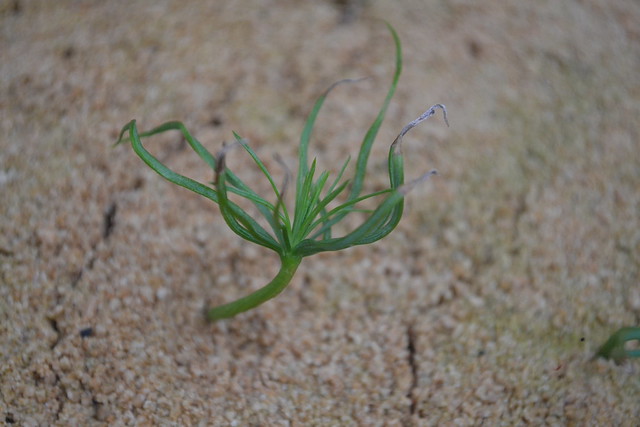
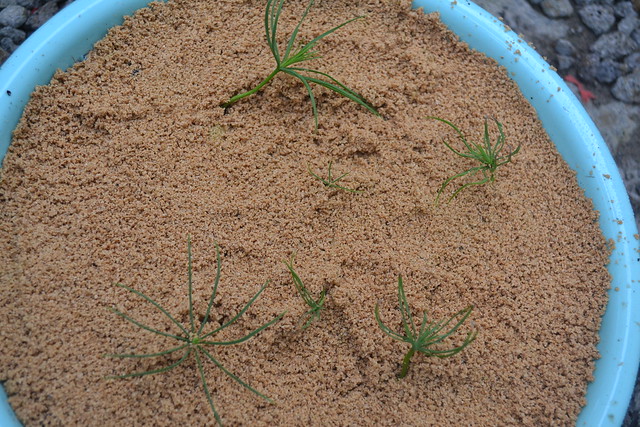
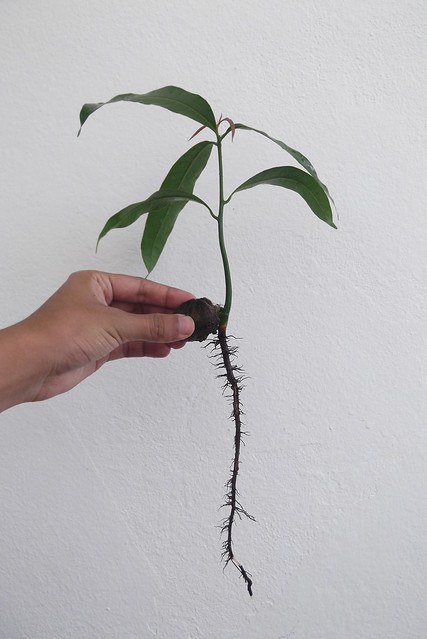
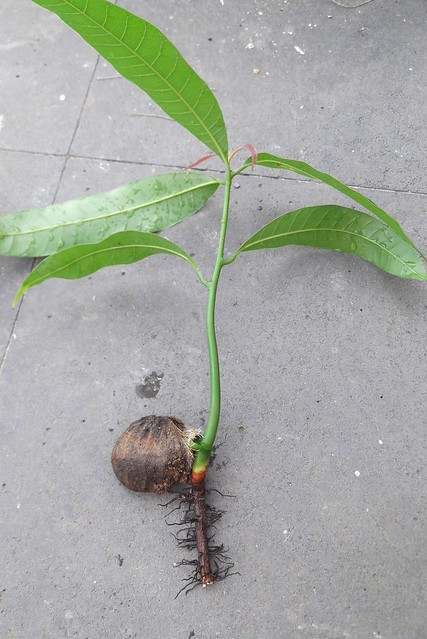
Some time ago I kept some pomegranate seeds and decided to try to make them sprout to make, in some unknown future, bonsai out of them.
With the tropical climate in Mauritius, I got quite a bit of growth over the last 12 months, but it still has a long way to go before it even comes close to bonsai material.
This is the basic plan done so far :
> Germinate seed
> Leave alone to grow freely
> Prepare Sapling for bonsai life:
> Get rid of taproot
> Leave alone to grow freely
> Young plant - wait for basic lignified structure to appear
> Start wiring (if you want to)
> Allow for sacrificial branches to thicken up the plant
> Leave alone to grow freely
There's roughly 12 seeds that sprouted and so far only one has progressed far enough to go into the wiring stage. The rest have been through the "get rid of the taproot" stage only and are growing freely for now.
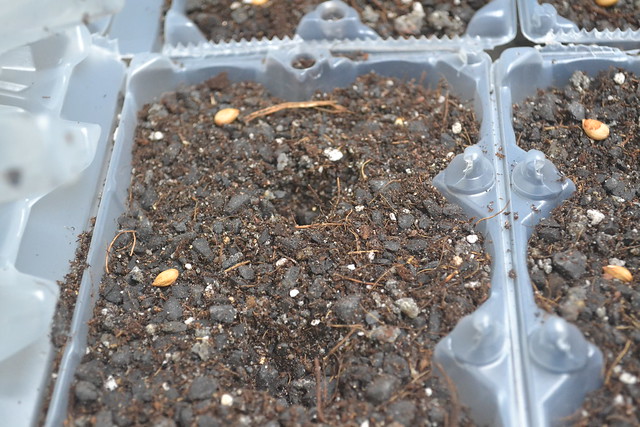
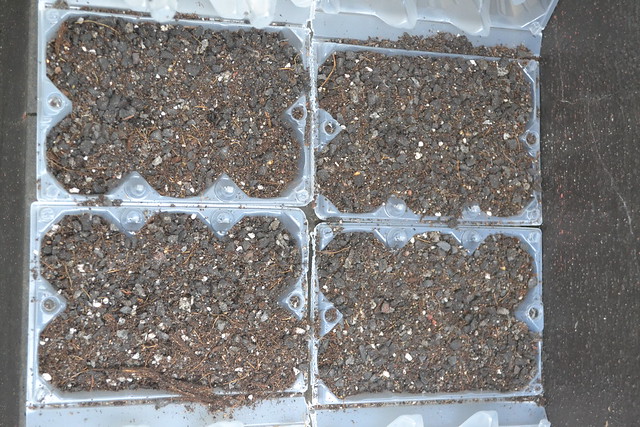
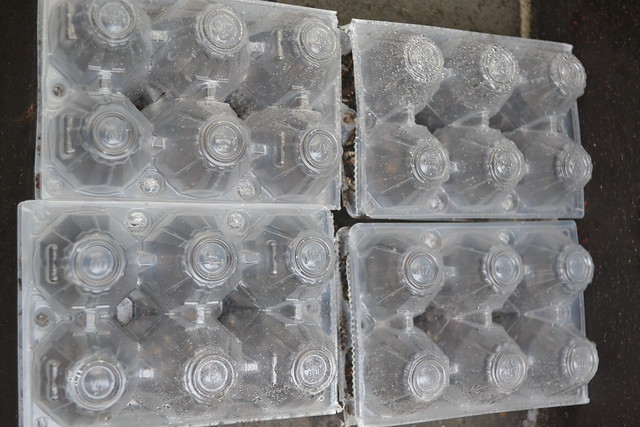
Stage 1 : Germinate the seeds.
No bonsai excitement in view at this stage, only basic horticultural skills needed to keep the seeds alive and kicking.
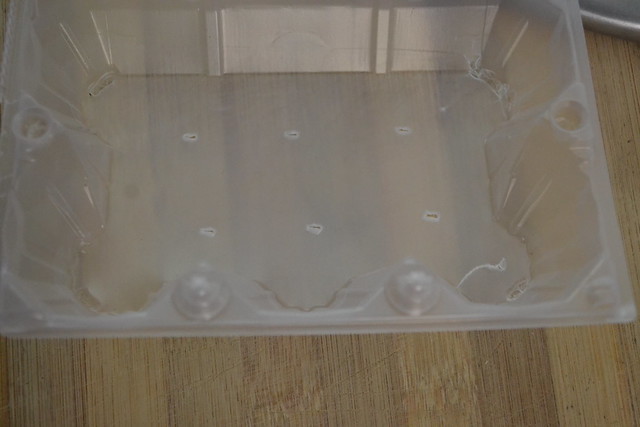
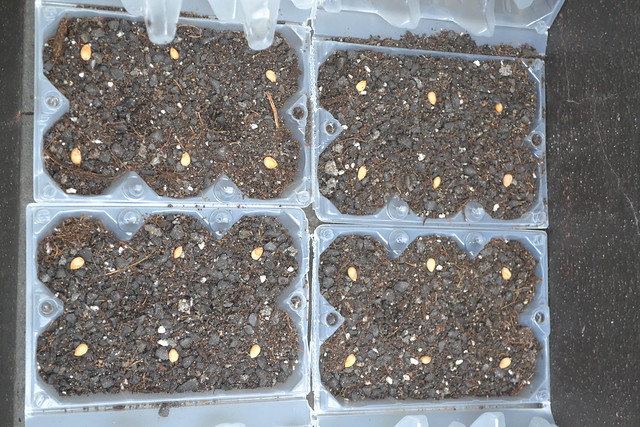
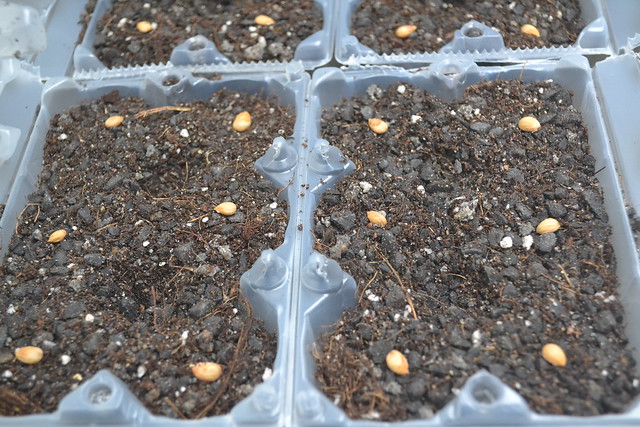
Stratify it, plant it, wait for it to germinate, wait for it to get strong enough for transplant, cross fingers and anything else that you can cross and hope it does not die on you.
Each seed germination process will vary, so just be patient at this stage.


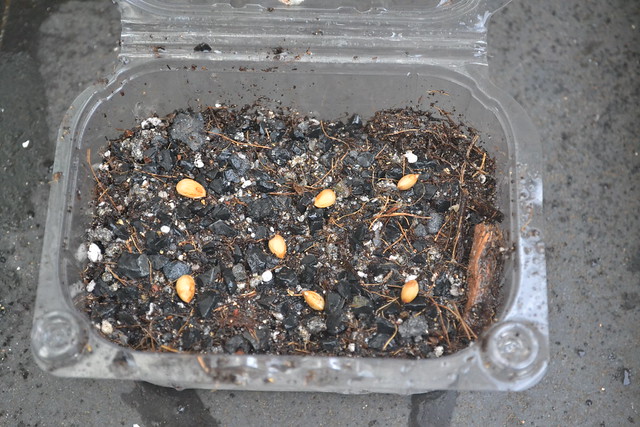
I also placed seeds in other containers, same story: wait for seeds to sprout and be strong enough for transplantation.


Stage 2 : Prepare Sapling for bonsai life
Do some basic bonsai root works: Get rid of taproot, spread the lateral roots in a desired radial shape to become future nebari.
You can forget about ramifications at this stage, because the main trunk is usually way too thin.
You need to let it grow, grow, grow and thicken, thicken, thicken.
Oh and stick it in the ground or a training pot! :)
Keep the bonsai pot inside the closet for now.
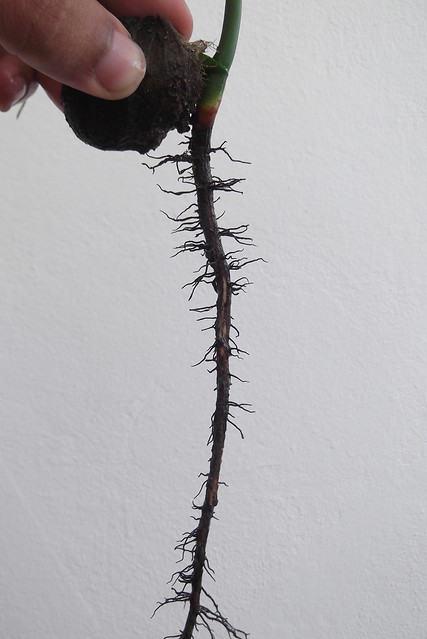
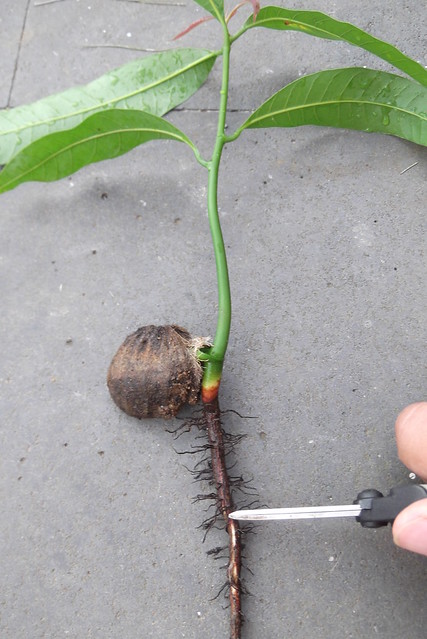
The "Get rid of the taproot and spread lateral roots" are probably the two most important actions at this stage.
The taproot is usually a long vertical root that is used by the plant to anchor the plant into the ground, over the years as the plant grows, this taproot grows deeper and thicker. It will also create lateral roots that will go in search of nutrition in the ground. As the tree grows older, some taproot dies and rots away, leaving only the lateral roots to hold the tree into the ground.
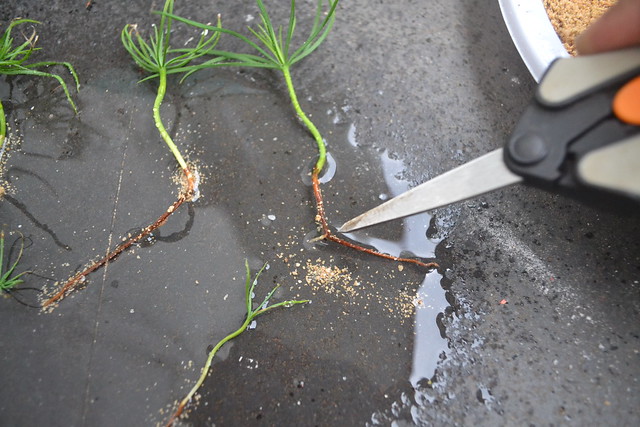
In a bonsai, you don't need that anchoring structure, so we need to remove the taproot to be able to place the plant successfully into a smaller pot. The advantage of a seed over a nursery material or a yamadori material is that we can remove that structure earlier and also arrange the lateral roots earlier.
 |
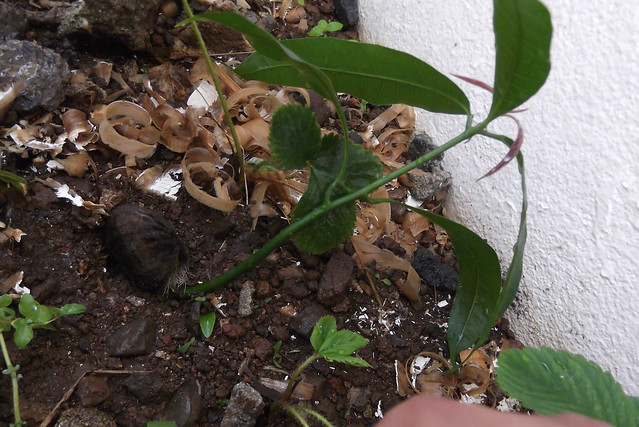
| Young pomegranate sapling |
 |
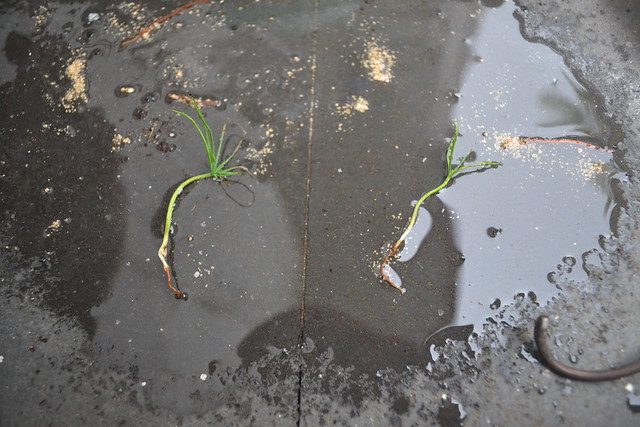
| The taproot has been removed and the lateral roots spread about |
 |
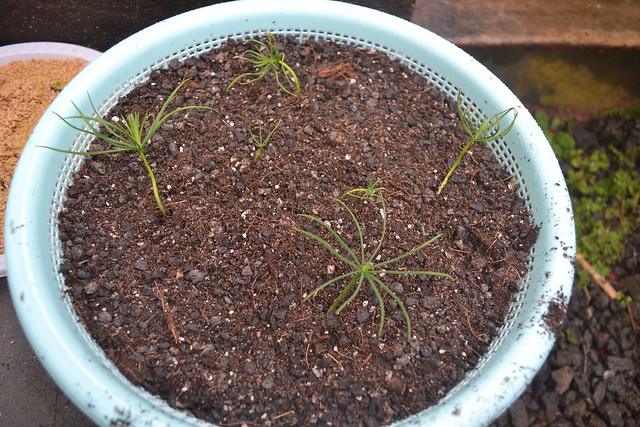
| Repotted |
 |
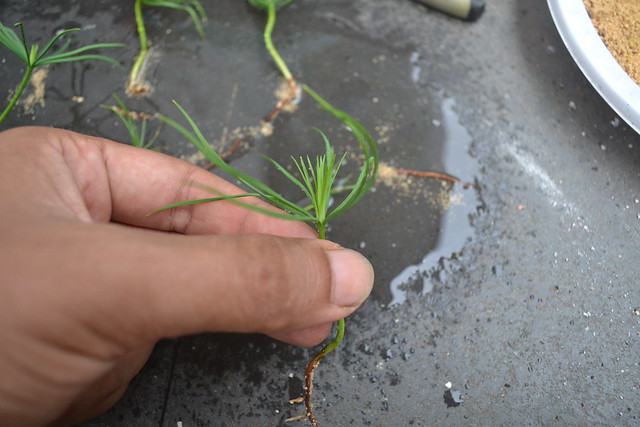
| Processing several seedlings |
 |
| Removed from the seed tray, and sprayed regularly with water to prevent the roots from drying out. |
 |
| Identifying the taproot |
 |
| Taproot removed |
 |
| Do the same on the other saplings |
 |
| Optional step : Use some rooting hormone to encourage new roots where the taproot has been removed. |
 |
| Repotting : Creating a small hole into the soil |
 |
| Repotting : Slowly position the root mass into the hole |
 |
| Repotting : Adjust position before filling the hole once more. |
 |
| Repotting : Done |
 |
| The whole batch processed |
Step 3 : Wiring and sacrificial branches
One of the plant has started to lignify, that is it started to produce true woody structures.
At this stage its ideal to wire the plant into a desired shape.
As the plant continues to grow and produce more lignin ( essentially more wood ) this will hold the plant into that new shape.
In nature, the plant's own leaves, fruits and branches will also bend under their own weight to shape the trees. In addition to that, the plants are shaped by external elements like wind, rain, animals (birds, squirrels, monkeys) or even men.
In the case of a bonsai, the bonsaika ( bonsai artist ) has various approaches to creating/shaping the trunk, some approaches I could take in this case are :
- Leave the plant on its own and allow external elements affect it just like in nature.
- Place the pot at odd angles and changing the angles every year or so.
- Wire the trunk and force a shape on the plant.
With established nursery plants it can be more difficult to create daring curves and shapes because of the rigidity of the trunk. In the case of a young 1~2 year old plant the trunk is soft enough to bend without breaking.
So basically at this stage you can :
- Give it some basic shape and flow to the trunk (Via wiring or placing the pot at odd angles and letting it grow or other means)
- Choose your main branches, sacrificial branches (you can optionnaly get rid of the rest right now)
What you should
AVOID to do :
- Do not start on the ramification process!
The plant is still too young to start creating the ramification
- Do not place it into a bonsai pot!
The plant needs a bit more room for the roots to develop and to thicken up the trunk.
Use a training pot or if you have enough space, plant it into the ground for 2~3 growth cycles.
Important side note :
DO NOT OVERWORK THE WIRING!
Place the wire, give it some shape and LEAVE IT ALONE!
Do not give it a twist in one direction then change mind and twist it around in the other direction 5 mins later or the next day.
Decide of a general shape, wire the trunk, shape it and let it be.
The sapling is still young and twisting this way then retwisting another way etc will weaken the trunk and in the worst case scenario might well kill the plant altogether.
If you are not satisfied with the shape obtained, leave it alone for the next 2~3 months to allow the tree to recuperate and give signs of new growth before attempting to "correct" the shape.
Stage 3 - Part I : Wiring
|
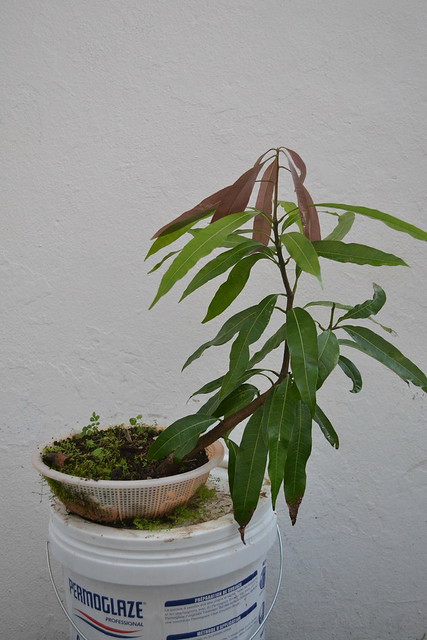
| The plant at stage 2 : taproot removed and repotted. |
 |
| After the plant was allowed to grow freely. |
 |
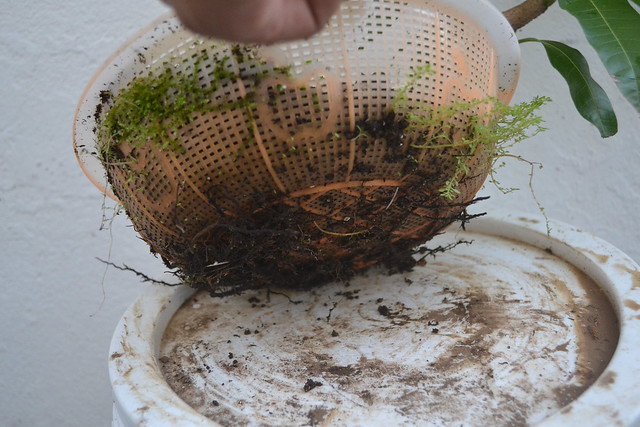
| The older lower section has started to lignify ( turn into wood ). |
 |
Here you can clearly see the older lower lignified trunk
and the upper newer semi-green trunk. |
 |
| As you move up the trunk it turns from woody, to semi-green to green. |
 |
| Time to wire |
 |
| Give some shape : Slowly and carefully give twists and shapes. |
 |
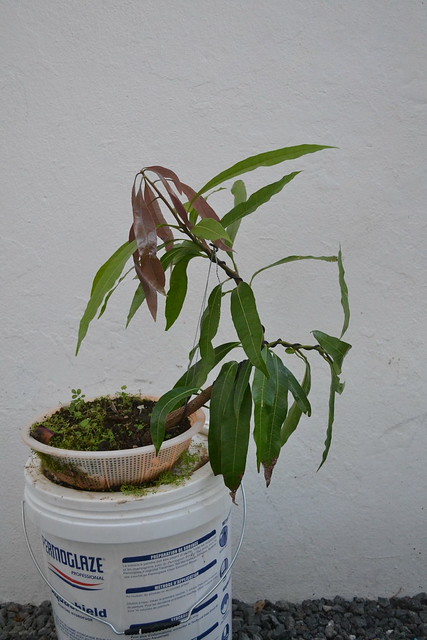
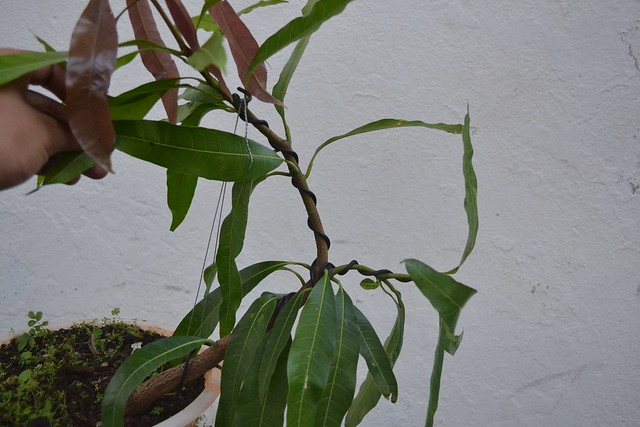
| Same tree from another angle. At this stage it is important to not overwork the wiring process. |
Stage 3 - Part II : Sacrificial branches
After some time (a few months in the best cases, several months in worst cases) new shoots are going to appear.
Most bonsai books stress a lot on "Remove unwanted growth", but that approach is usually for ESTABLISHED bonsai or near established bonsai.
In this case, the plant is FAR FAR AWAY from being established.
It needs to grow and most of all, it needs to bulk up the trunk, and the best way to do that is to allow it to grow freely for some time, OR make use of sacrificial branches.
The principle of the sacrificial branch is simple :
Allow one or more branches to grow freely to bulk up the trunk or branch with which it is connected.
And once the desired thickness is obtained, cut off the sacrificial branch.
 |
| Same plant but as you can see it has pulled several new branches. |
 |
| Here I'm pointing at one of the sacrificial branches. |
 |
As the sacrificial branch will grow, it will become thicker and thicker,
in return it will also make the area underneath it to thicken up.
In other words the lower trunk will become thicker. |
 |
Same thing here : The sacrificial branch that I am holding will be allowed to grow freely.
In return as the sacrificial branch grows, the lower section will thicken up. |
 |
As the plant will bulk up, I will have to check on the wires to make use that the trunk is not growing over them.
The areas most at risk are the points with U-turn curves or S-shape curves like the point that I am pointing at. |