Bonsai Mauritius - Slash pine bonsai : 4 Year Progression
This is a 4 years progression of my pine "bonsai".
It's a Slash Pine [ Pinus Elliottii ], acquired as a sapling back in 2009.
Most pictures of bonsai that stuck in my mind are bonsai of evergreen trees - Pines or Junipers.
After four years "playing" with this pine I am just starting to grasp the basic's basics of pines.
If I had to place a tree in terms of difficulty, pines would be at the top of the list.
It is definitely non a tree variety for a beginner and its needs a methodical approach to get something remotely resembling a bonsai.
Furthermore different varieties of bonsai have different number of needles, and depending on the number of needles your bonsai have [ 2 needles, 3 needles, 5 needles, etc ] you have different approaches to reducing those needles to acceptable length.
Slash pine is not a pine variety traditionally used in creating bonsai.
The most common pine varieties used for creating bonsai are Black pine, White pine, Mugo pine.
I have not been able to find those varieties in nurseries in Mauritius and so I've tried to reproduce Black Pine [ 2 needles ] needle reducing techniques on my Slash Pine [ 2-3 needles ]
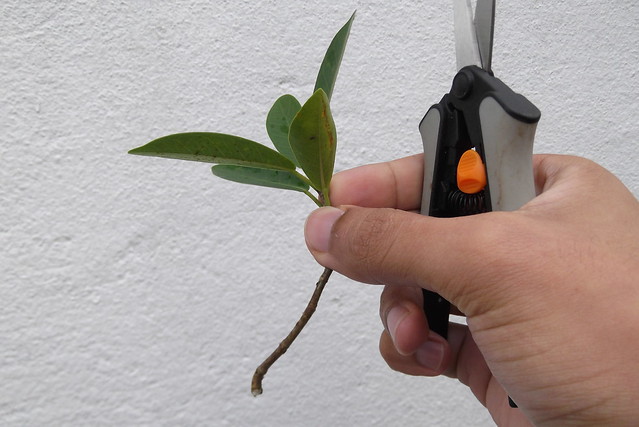
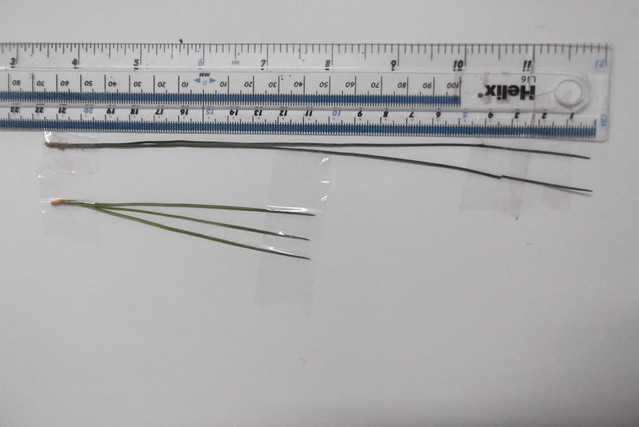
One of the main difficulty with the Slash Pine is that it has very long needles.
I did managed to get some reduction to at least 50% [ picture at the end of the article ].
Typical slash pine needle length = 20cms
My current slash pine needle length = 10cm
So here it is :
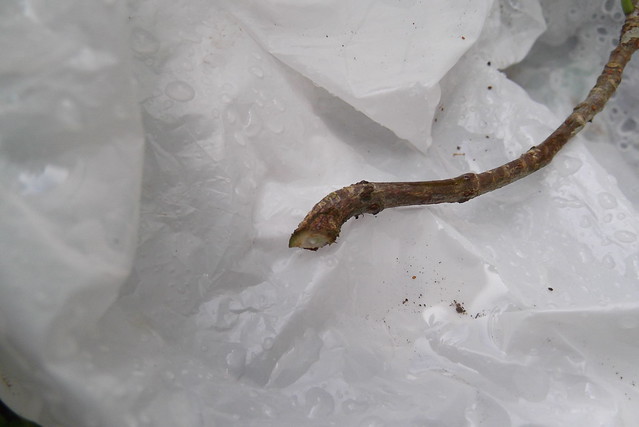
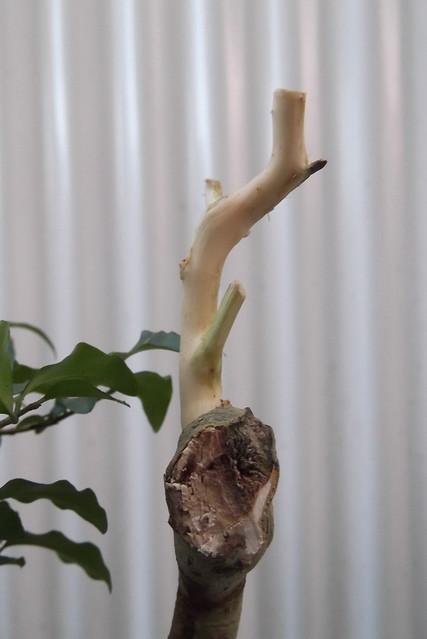
 |
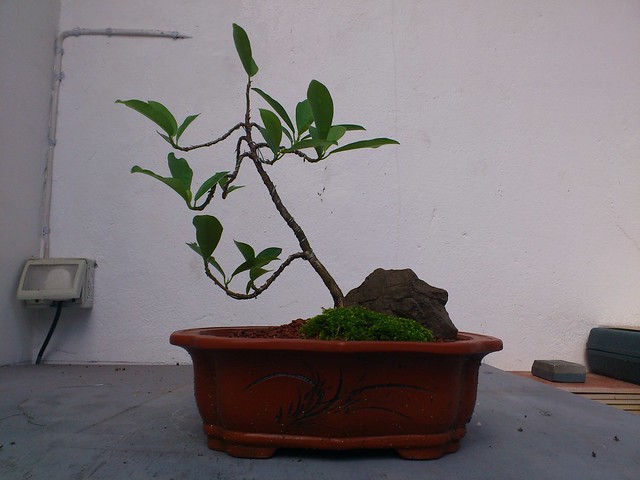
| Oct 2009 - Slash Pine Sapling. |
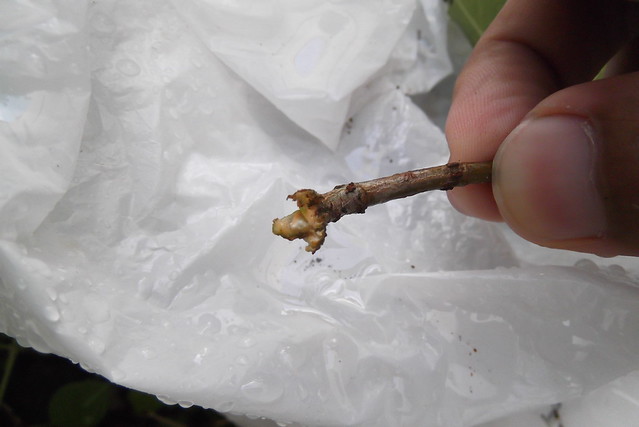
 |
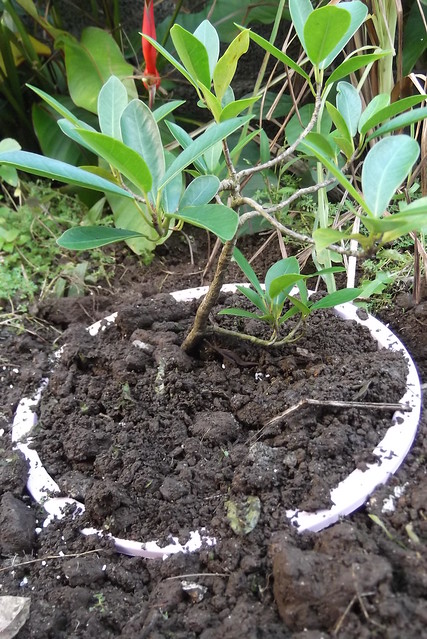
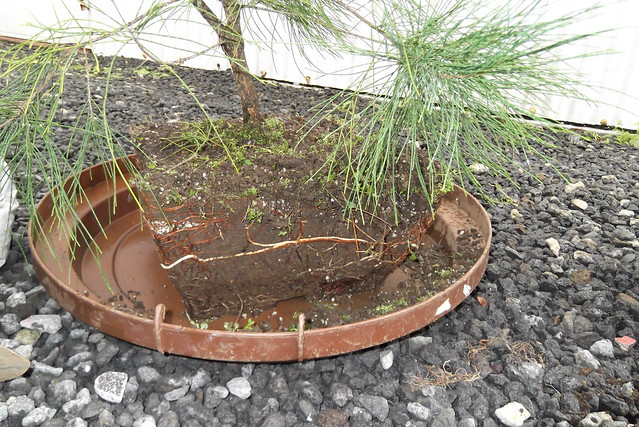
| July 2010 |
 |
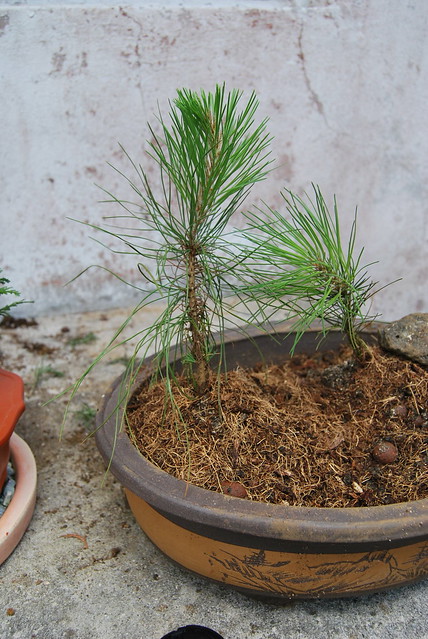
| Oct 2010 - The tree is growing several candles. |
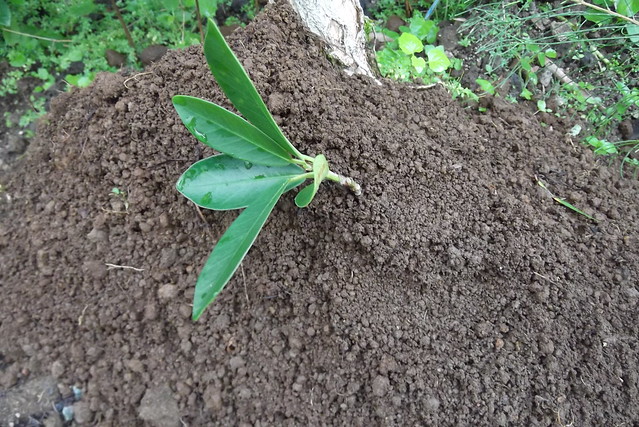
 |
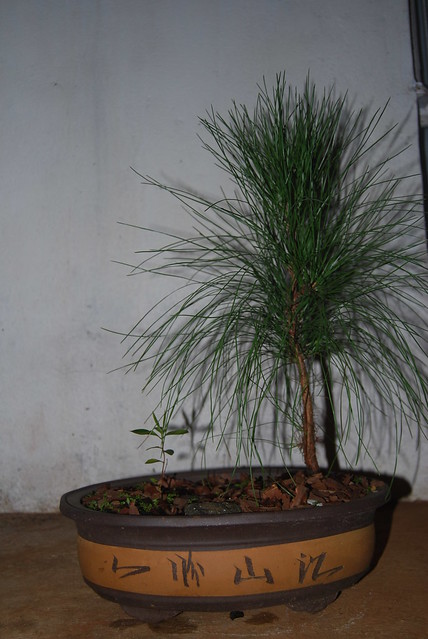
| April 2011 |
 |
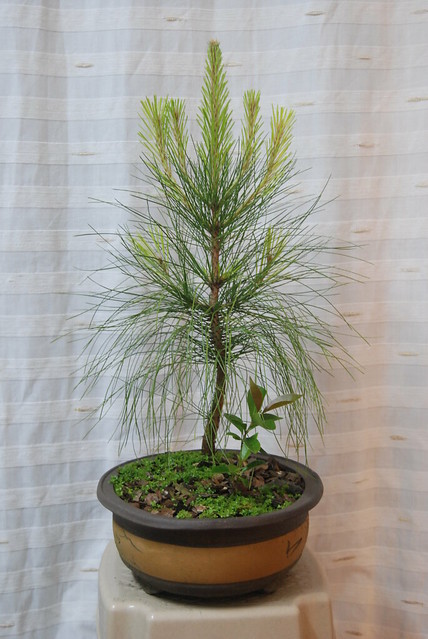
Oct 2011 - The picture is too small to see clearly,
but there are several candles on this one. Candles is
the equivalent of new shoots that you see in deciduous
trees. |
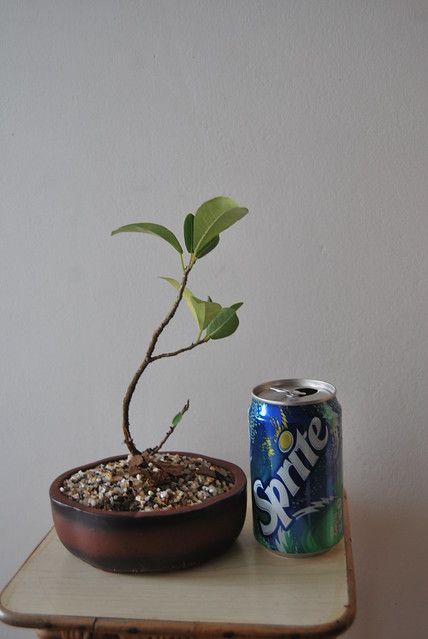
 |
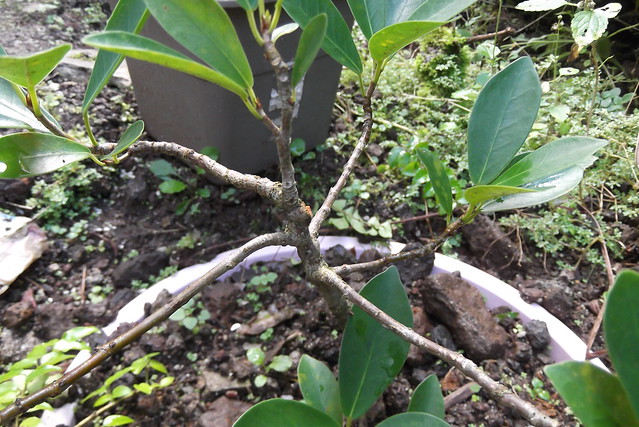
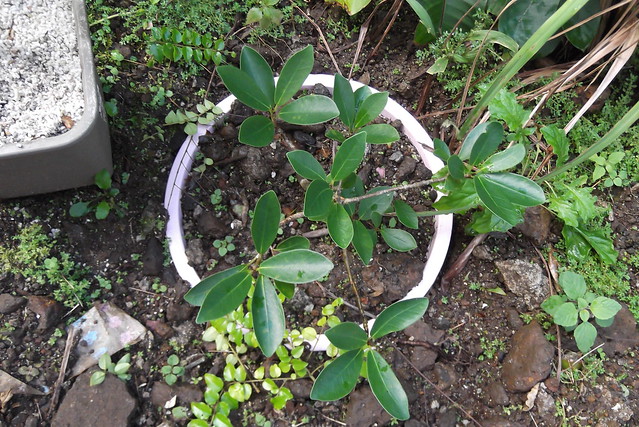
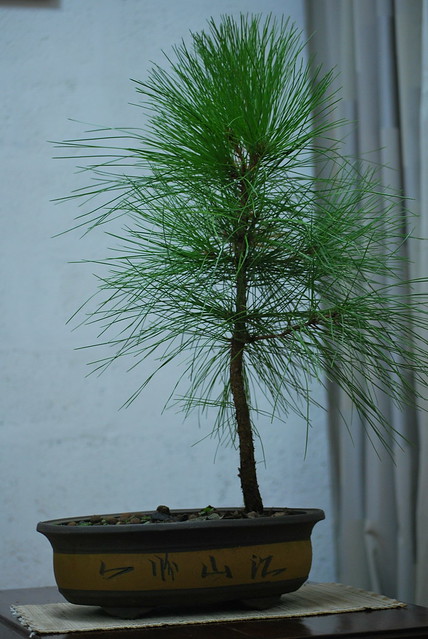
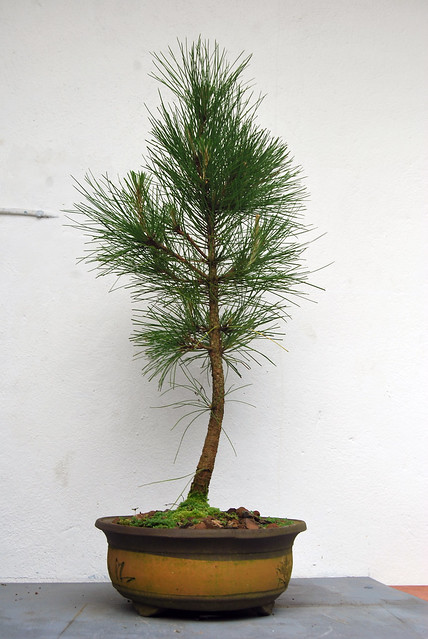
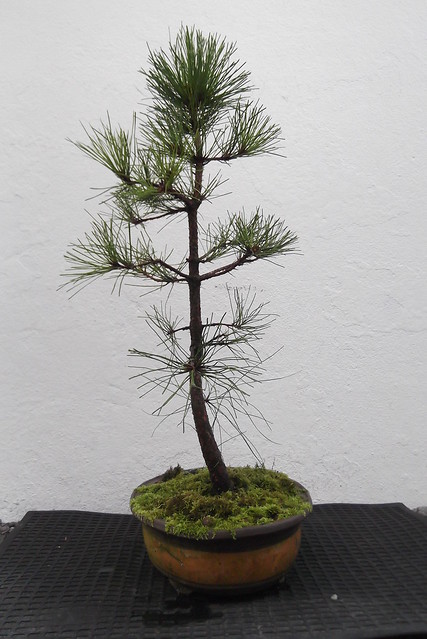
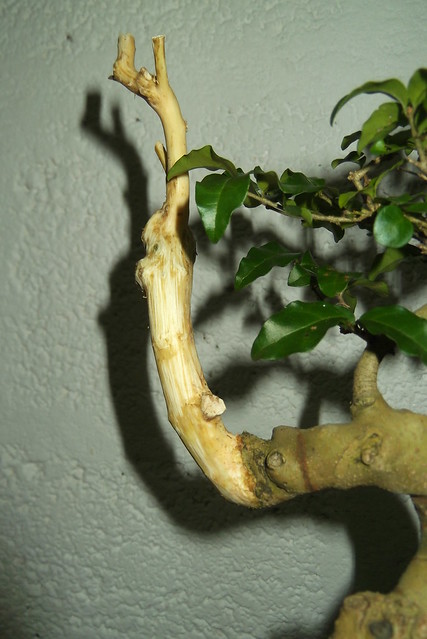
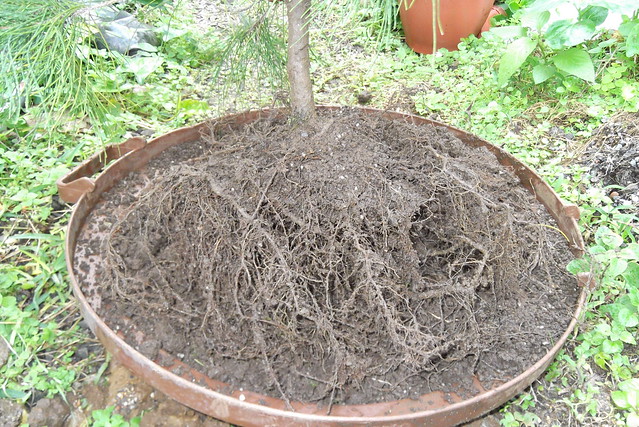
| June 2012 |
 |
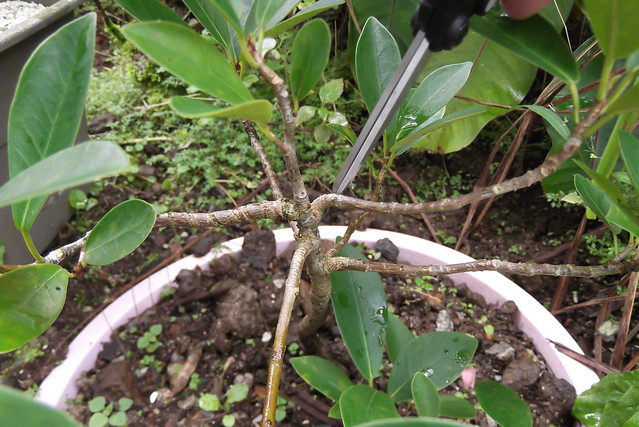
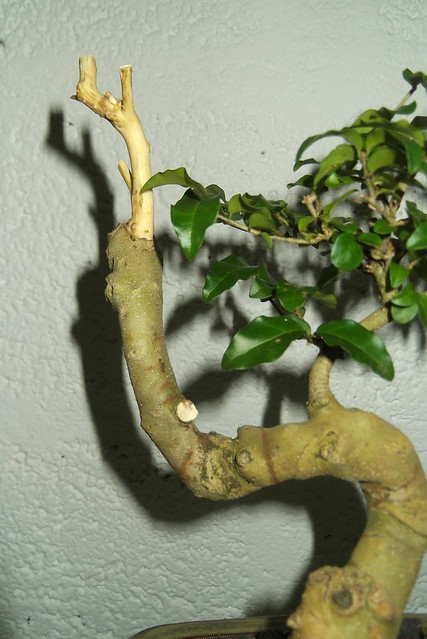
| June 2012 |
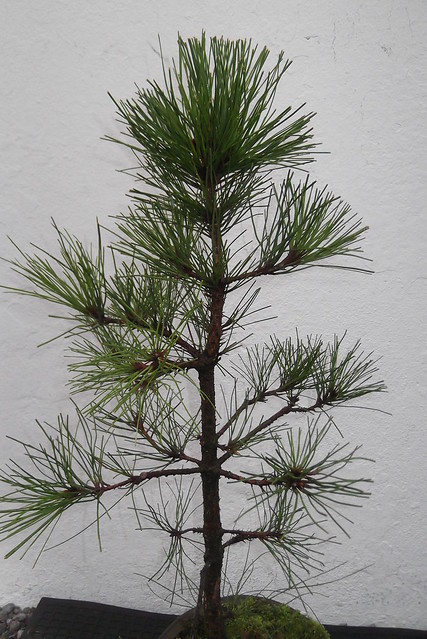
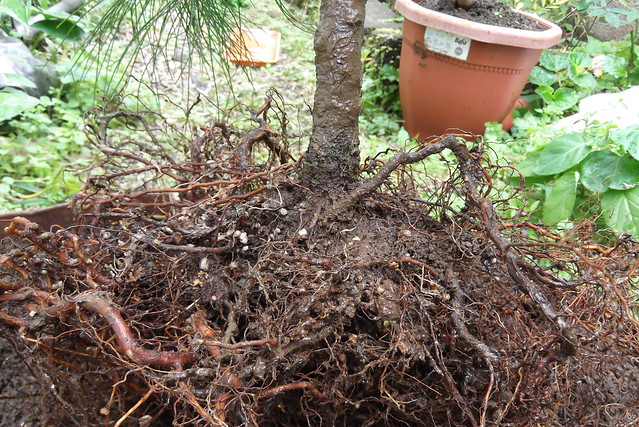
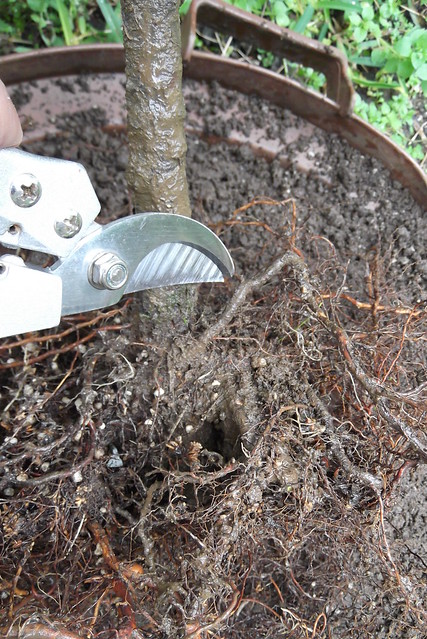
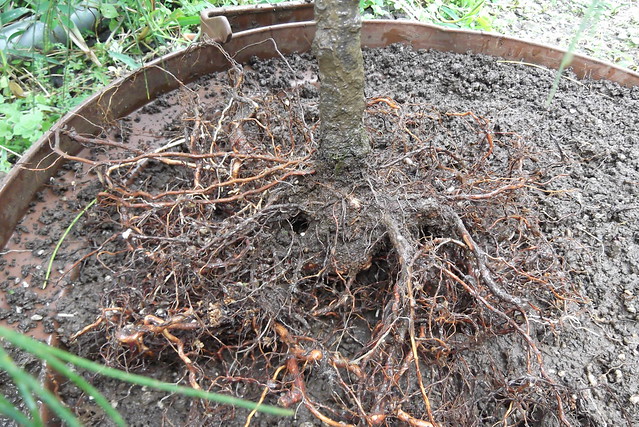
 |
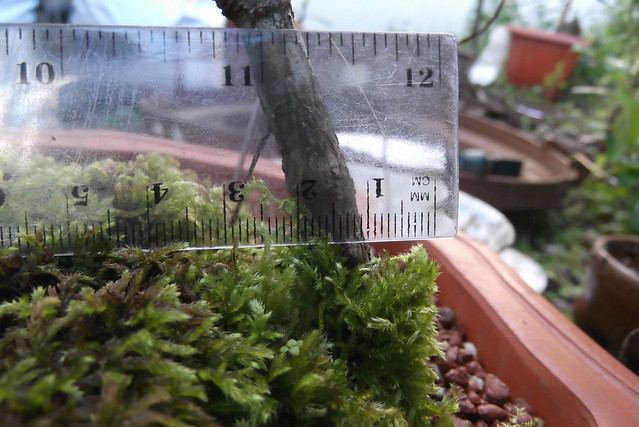
| June 2012 - Close up of the ramifications |
 |
June 2012 - Needle reduction
Top needle is from another Slash Pine [ untrained ]
Bottom needle is from this Slash Pine |
Some pine bonsai reference:
Bonsai4me - Info on Pinus Species